
Last updated October 11, 2026
Free visual inspection and a written scope of work before any mitigation begins - photos, moisture readings, and drying logs go in your claim file
The scope we write is the scope we bill. Anything new gets shown to you, in writing, before we touch it.
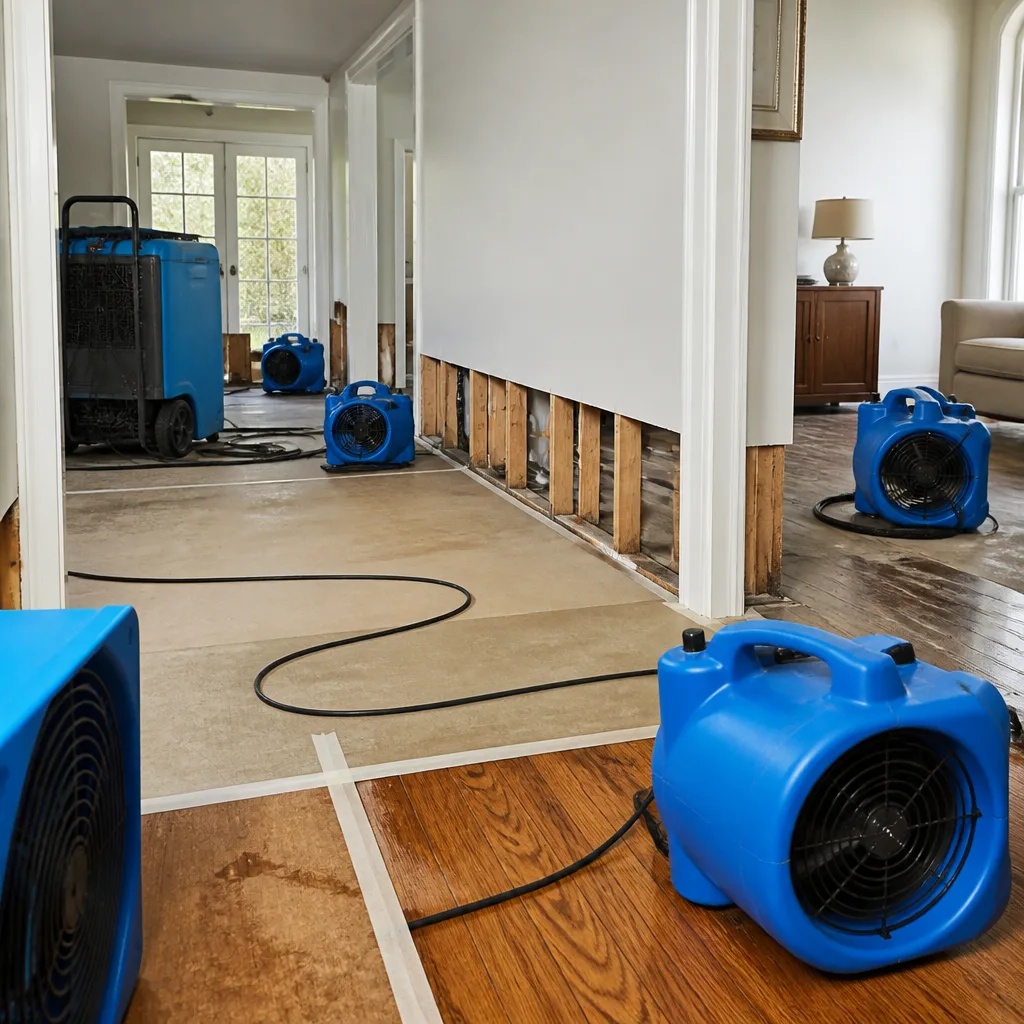
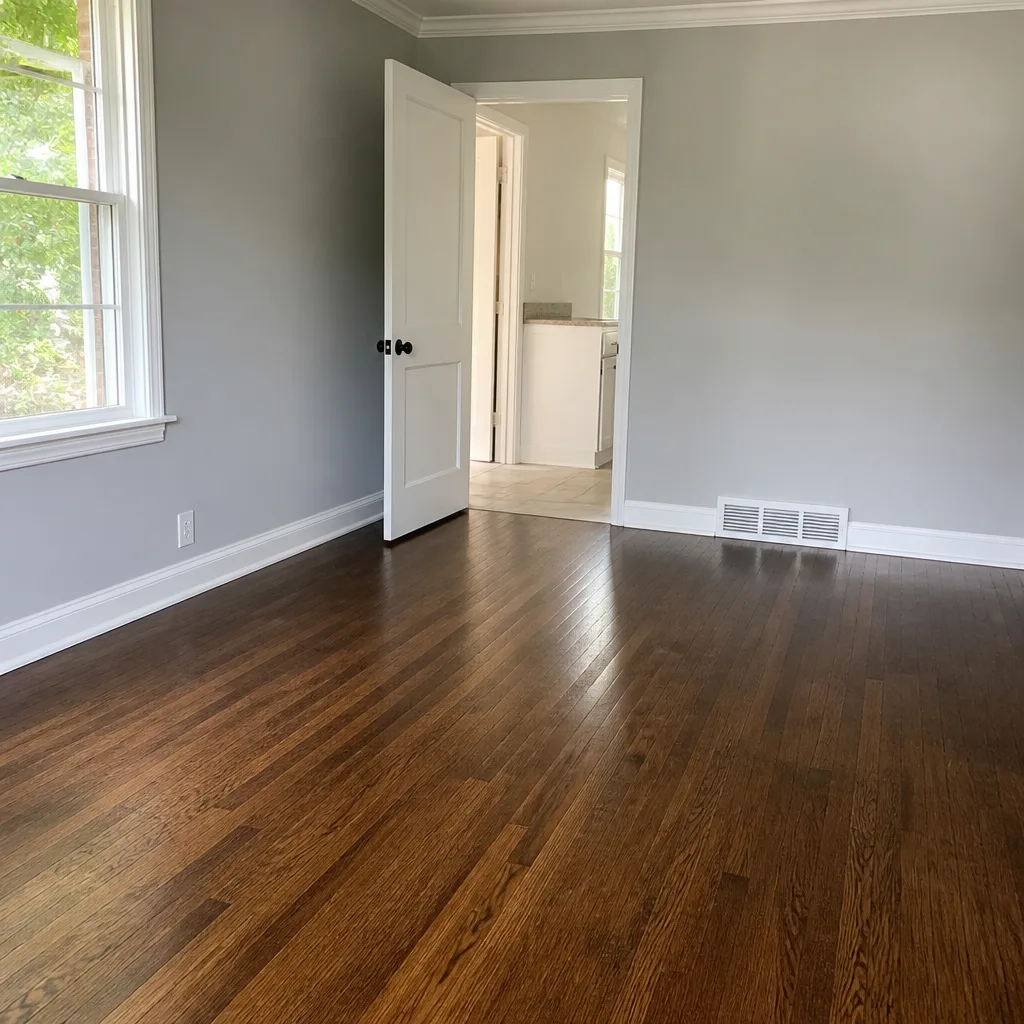
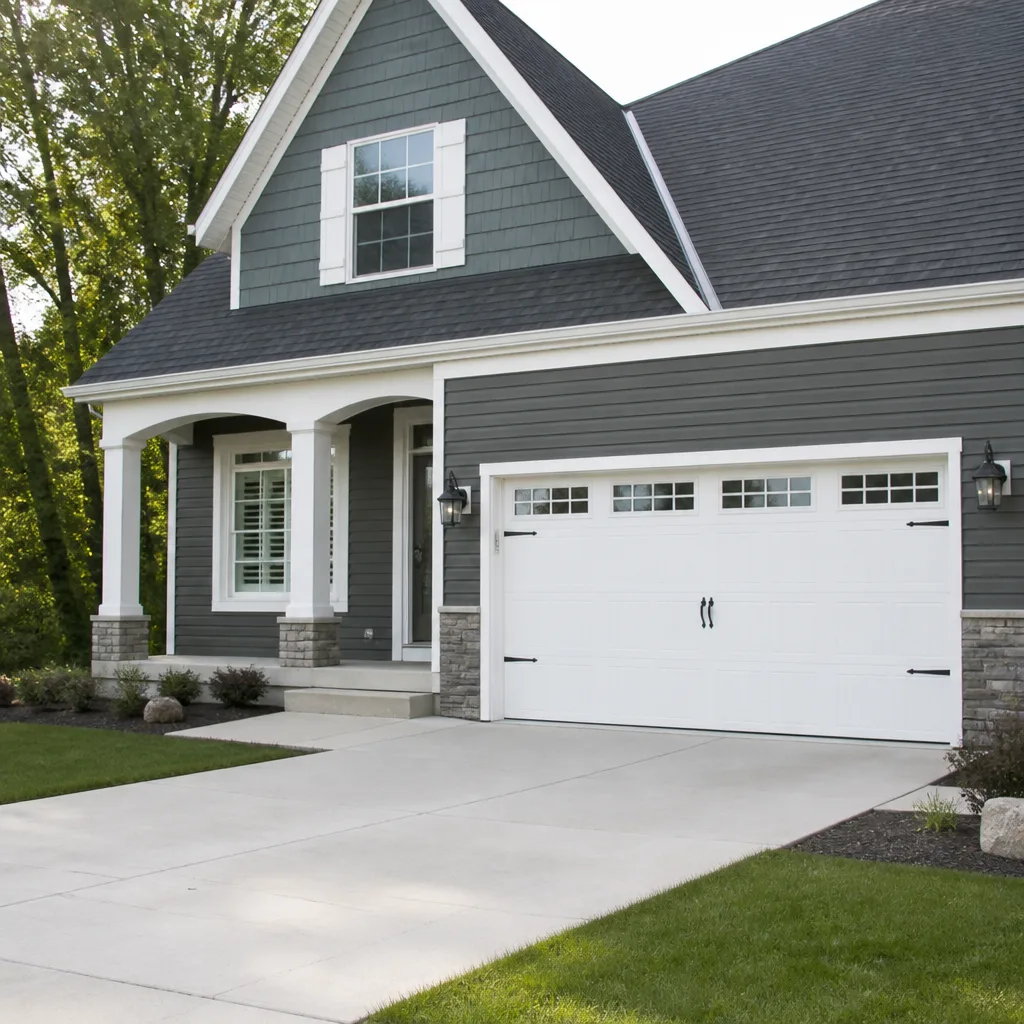
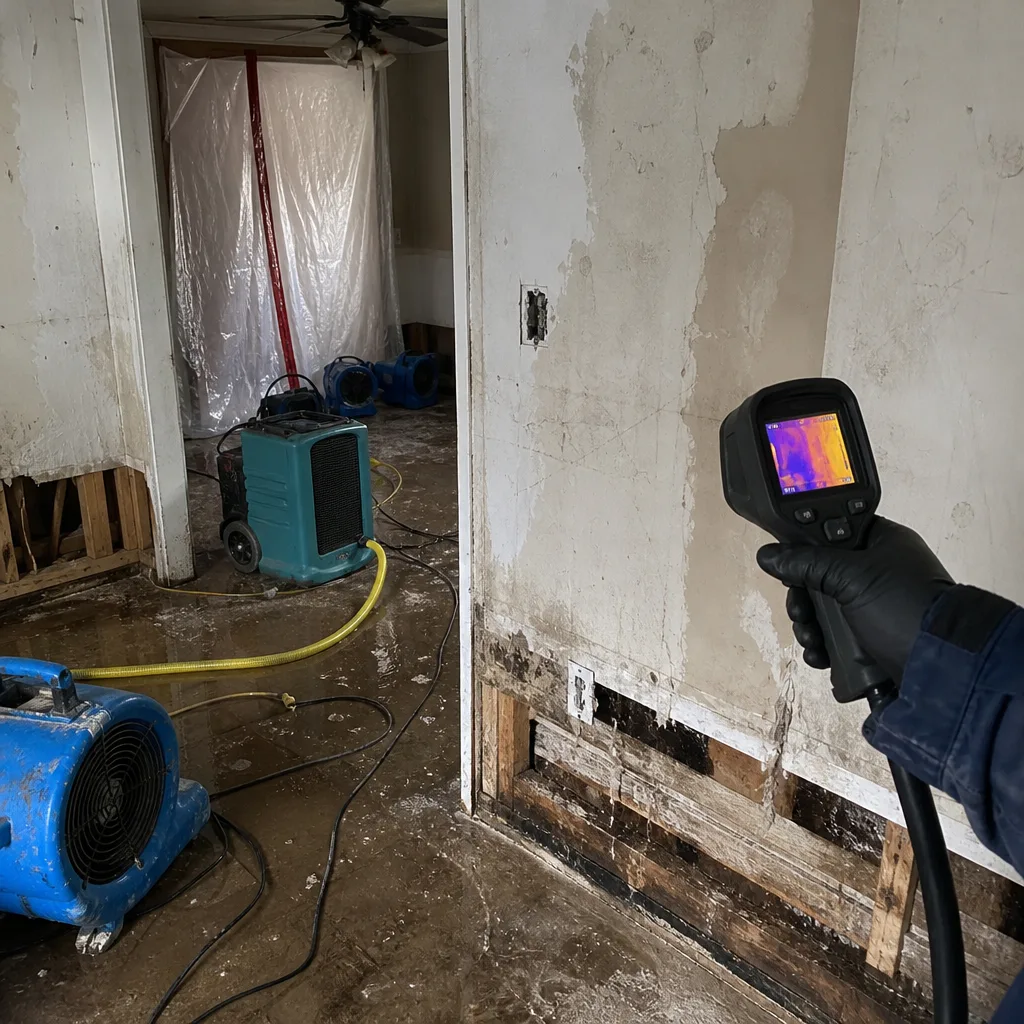 Before
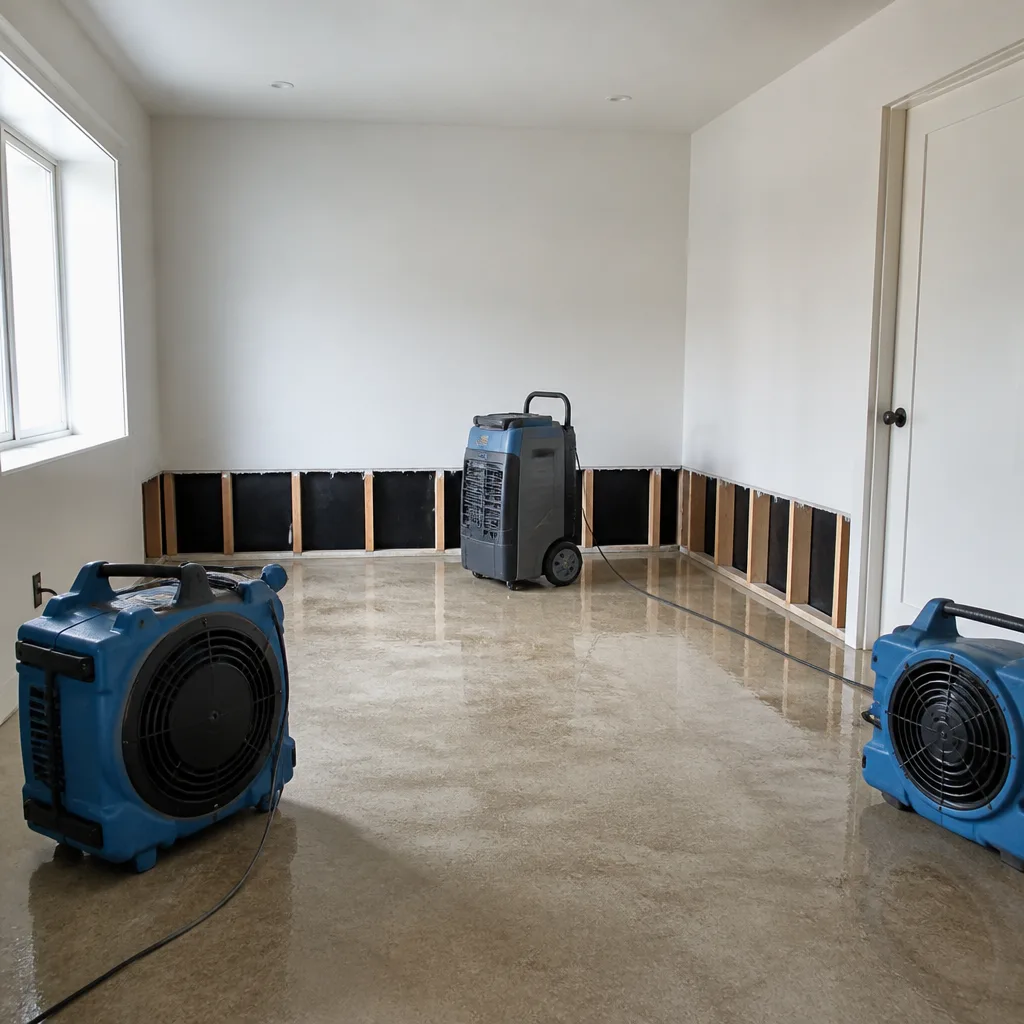 After
After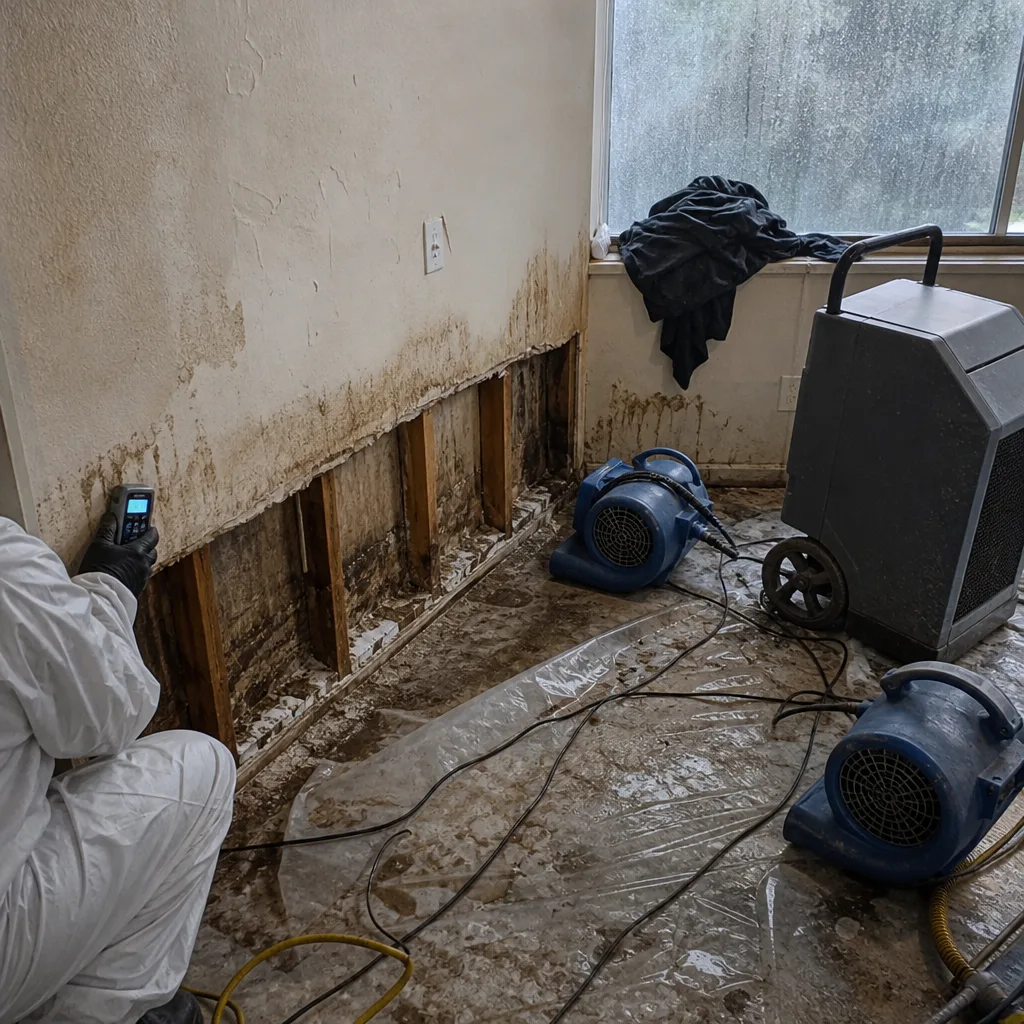 Before
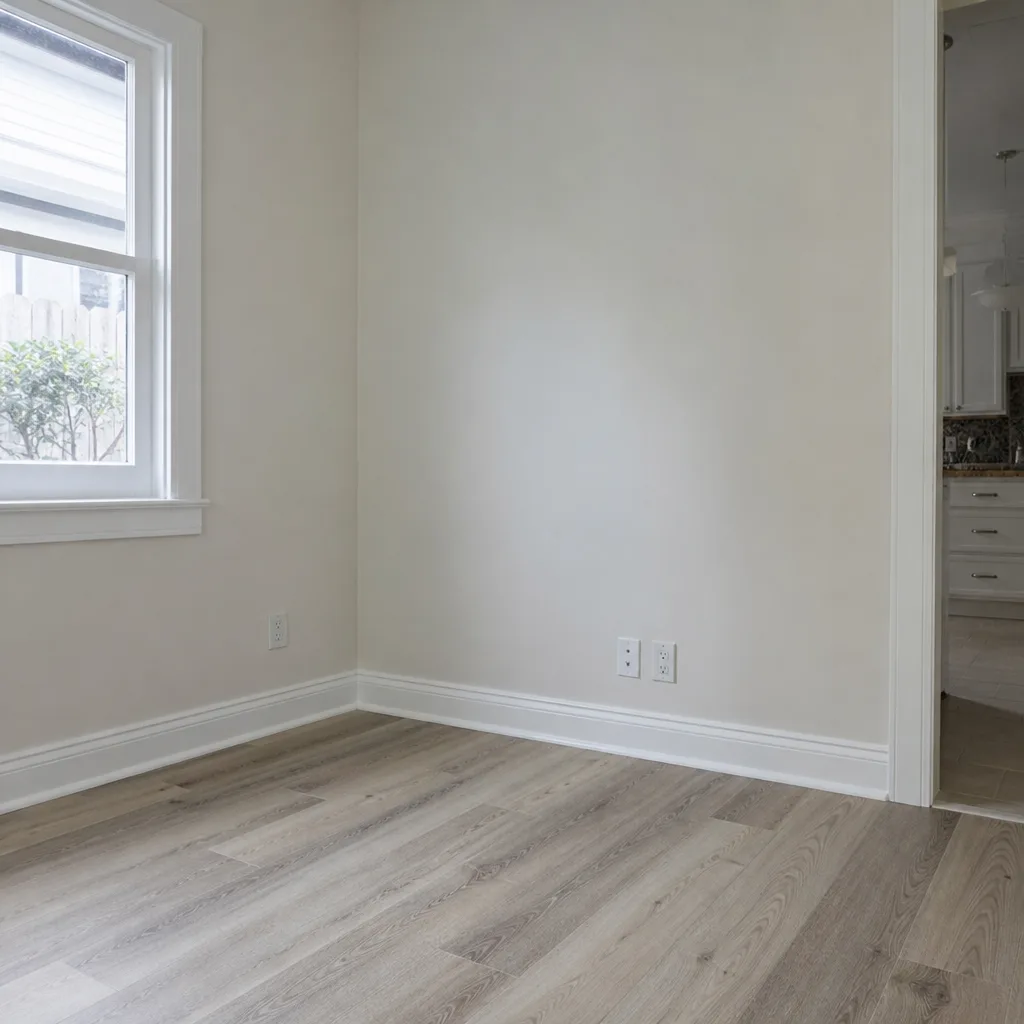 After
After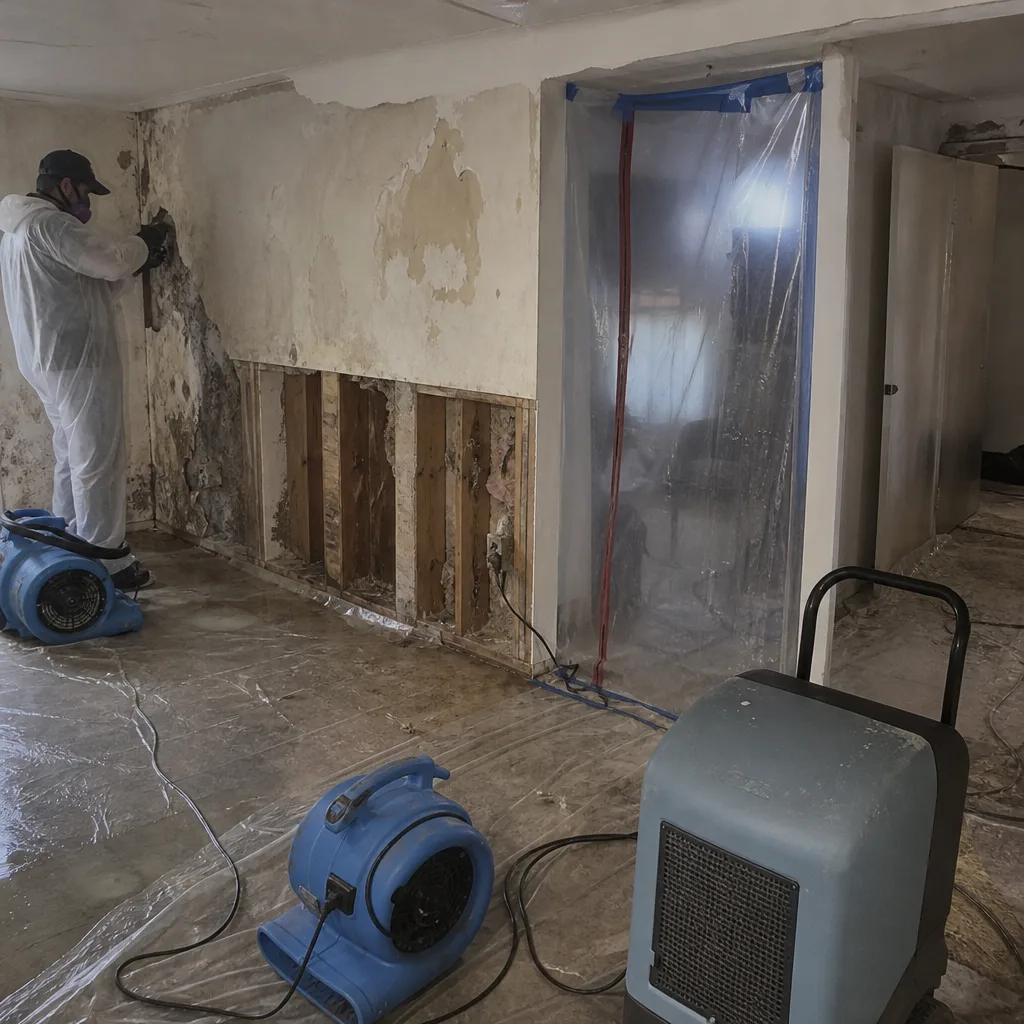 Before
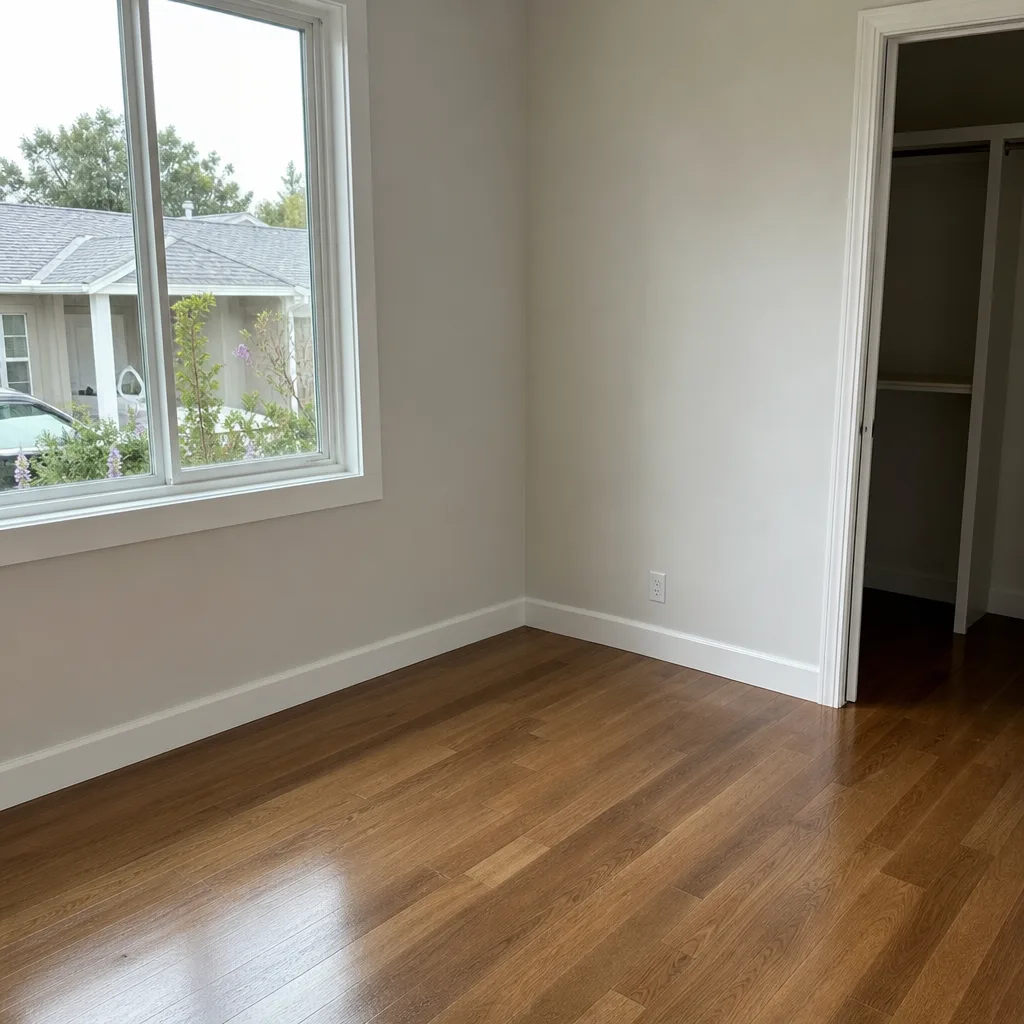 After
AfterFire Damage Restoration Maintenance Schedule: What to Do and When
Electrical fires in homes that have already experienced fire damage are significantly more common in the 12 months following Fire Damage Restoration than most homeowners realize. The culprit is almost never the work that was done – it’s wire insulation damage outside the primary fire zone that wasn’t identified during the original scope, then degrades under normal load until it ignites. In Los Angeles, where many homes have been through multiple ownership cycles and renovation layers, this hidden damage problem is compounded by aging electrical systems that were never designed for modern loads.
This guide gives you a month-by-month inspection schedule for the first year after fire damage restoration. You’ll learn what to check, what to look for, and when a finding means you need to call the restoration contractor back under your guarantee. We wrote this because we’ve seen too many Los Angeles homeowners discover secondary fire damage, mold growth, or structural issues that a simple scheduled inspection would have caught at the Fire Damage Restoration Warning Signs Every Homeowner Should Know stage.
Quick Answer
A fire-damaged home needs structured inspections at 30, 60, 90, and 180 days after restoration completion, with ongoing quarterly checks through the first year. The critical focus areas are electrical systems, HVAC particulate loading, hidden char behind restored drywall, and structural settling that compromises sealed penetrations. Document every inspection with dated photos to support any guarantee claim.
Table of Contents
- Why Fire Damage Needs Ongoing Maintenance, Not Just a Final Walkthrough
- Month 1: The Critical 30-Day Inspection
- Month 2: HVAC and Air Quality Checks
- Months 3-6: The Settling Period
- Months 6-12: Seasonal and Weather-Related Checks
- How to Inspect Restored Drywall for Hidden Char
- Understanding Your One-Year Restoration Guarantee
- Common Mistakes to Avoid
- When to Call a Professional
- Frequently Asked Questions
- The Bottom Line
Why Fire Damage Needs Ongoing Maintenance, Not Just a Final Walkthrough
The final walkthrough after fire restoration confirms that the contracted work was completed to spec. It does not confirm that all fire-related damage was found. Fire behaves unpredictably – heat travels through wall cavities, attic spaces, and floor joist bays in ways that don’t leave obvious surface traces. Smoke and soot penetrate deeper than visual inspection can reliably assess. And the structural drying and cleaning process itself can reveal or create new issues as materials equalize moisture content and settle.
In Los Angeles, our Mediterranean climate with dry summers and occasional intense winter rain events creates a specific risk profile. A home that passes final inspection in September may develop moisture intrusion problems by January when the first heavy rains hit, because fire-damaged framing that’s been dried and sealed can shift or check as humidity cycles. The Santa Ana wind periods, with their extremely low relative humidity, can accelerate wood shrinkage and crack sealants that were applied during more humid conditions.
The 12-month maintenance schedule isn’t about doubting the restoration crew’s work. It’s about recognizing that fire damage is a dynamic condition. Materials continue to react. Hidden damage continues to manifest. And the intersection of restored structure with original, undamaged structure creates transition zones where problems concentrate.
Key areas where delayed problems surface:
- Electrical: Wire insulation damaged by radiant heat but not direct flame becomes brittle and fails under load, typically 2-6 months post-restoration
- HVAC: Residual particulate in duct branches remote from the fire zone breaks loose as airflow patterns change with seasonal use
- Structure: Heat-weakened framing members sag or check as they fully dry, creating gaps at penetration seals
- Moisture: Sealed penetrations that were tight at completion open as structure settles, admitting water during first rainy season
Our crews at Fire Damage Restoration in Los Angeles document the full pre-restoration condition precisely because we know some findings won’t be fully understood until later. That documentation becomes the baseline for your maintenance inspections.
Month 1: The Critical 30-Day Inspection
The 30-day mark is your first opportunity to catch problems while they’re still clearly tied to the restoration work and before they compound. Schedule this inspection for a weekday when you can spend 90 minutes without interruption, and when the home has been occupied normally for at least two weeks so systems have been under realistic load.
Electrical system check:
- Turn on every circuit to full normal load simultaneously if safe – all lights, appliances, HVAC. Smell for hot plastic or ozone at every outlet and switch
- Feel outlet faceplates for warmth, especially on circuits that serve areas adjacent to but outside the primary fire zone
- Test GFCI and AFCI breakers – fire heat can damage the sensitive electronics in these protective devices
- Look for flickering or dimming that wasn’t present before the fire, which can indicate compromised neutral connections
Structural and finish check:
- Examine all restored drywall seams for cracking, especially at corners and around openings
- Check that caulked joints at trim, countertops, and fixtures remain flexible and adhered
- Operate every door and window – binding indicates frame movement from drying or settling
- Look for nail pops or screw heads working through finish surfaces
Moisture and odor check:
- Run your hand along restored walls feeling for temperature variation – cold spots can indicate residual moisture or missing insulation
- Close the home for four hours on a mild day, then enter and smell for smoke odor resurgence
- Check under sinks and at toilet bases in restored bathrooms for seal integrity
Document everything with dated photos. In Los Angeles, where permit records are publicly accessible, note whether any electrical or plumbing work was permitted and inspected by LADBS – this affects your rights if problems emerge later.
Month 2: HVAC and Air Quality Checks
By day 60, your HVAC system has cycled through enough operating hours to reveal whether duct cleaning and equipment restoration were fully effective. This is particularly critical in Los Angeles, where extended AC seasons mean systems run heavily from spring through fall, and where wildfire smoke events can overload filters that are already compromised.
Filter inspection protocol:
Remove and examine your HVAC filter – not just whether it’s dirty, but what kind of dirt it collected. A properly restored system should show normal household dust: fibers, skin cells, some pollen. What you don’t want to see is black or gray particulate with an acrid smell when heated, which indicates residual soot and ash breaking loose from duct branches. Hold the filter up to bright light – uniform loading is normal; concentrated dark streaks suggest duct leaks or incomplete cleaning.
Filter replacement interval after fire restoration should be every 30 days for the first three months, then every 60 days through month six. Standard 90-day intervals resume only after filters consistently show normal loading patterns.
Register and grille examination:
Remove supply and return grilles. Look for:
- Black staining on the back side of grilles – indicates particulate bypassing the filter
- Oily residue in duct openings – suggests incomplete cleaning of smoke deposits
- Corrosion on metal components – acidic soot residue left in place accelerates metal degradation
Equipment-specific checks:
If your furnace or air handler was in the fire zone or adjacent to it, have a licensed HVAC technician inspect the heat exchanger and blower motor. Fire heat can warp heat exchangers, creating cracks that leak combustion gases. Blower motor bearings can have shortened life from particulate infiltration. This isn’t restoration work – it’s equipment-specific and needs a mechanical contractor.
The IICRC S520 standard for professional restoration references HVAC contamination assessment, but actual mechanical repair falls outside restoration scope. Know the boundary.
Months 3-6: The Settling Period
Months three through six are when structural movement from fire damage and subsequent restoration typically becomes visible. Wood framing that was wetted during suppression, then dried aggressively with professional equipment, continues to dimensionally stabilize. In Los Angeles, this period often spans our dry summer into early fall, when the first Santa Ana wind events can accelerate shrinkage in previously saturated lumber.
Structural settling indicators to monitor:
- Check previously sealed wall penetrations – where plumbing, electrical, or HVAC lines pass through framing – for new gaps or loosened sealant
- Examine exterior siding or stucco in restored areas for hairline cracking that follows a pattern (horizontal at floor lines, vertical at corners)
- Look for gaps between baseboard and flooring, or between countertop and backsplash, that weren’t present at 30 days
- Check tile installations for cracked grout or hollow-sounding tiles – fire heat can compromise thinset adhesion that fails under structural movement
The moisture risk:
Sealed penetrations that open during settling create direct paths for water intrusion. In Los Angeles homes with flat or low-slope roof sections common in mid-century construction, this is particularly dangerous because water can travel extensively within wall cavities before showing interior signs. The first rainy season after restoration – typically November through March – is when these latent defects prove themselves.
If your restoration included Water Damage Restoration in Los Angeles protocols for suppression water, the drying documentation should show equilibrium moisture content readings. Request these if you don’t have them – they’re your baseline for comparing future moisture meter readings.
What to document:
Take photos of any crack or gap with a ruler in frame for scale. Note the date, weather conditions, and whether the finding is new or changed from previous inspection. This documentation is essential if you need to invoke your one-year guarantee.
Months 6-12: Seasonal and Weather-Related Checks
The second half of the first year focuses on weather-driven performance and long-term material behavior. In Los Angeles, this period includes our primary rainy season and the transition back to dry conditions.
Pre-rainy season inspection (October-November):
- Walk the roof in restored areas – or hire a roofing contractor – to verify that flashing, seals, and penetration boots remain intact after summer heat cycling
- Check gutters and downspouts for proper flow, especially if any portion was disturbed during restoration
- Verify that grade around the foundation directs water away – restoration equipment and material staging can alter drainage patterns
- Test exterior outlets and light fixtures for proper weather sealing
During rainy season (December-March):
- Inspect interior walls and ceilings in restored areas after every significant rain event – not just for visible water, but for discoloration, texture change, or musty smell
- Check attic spaces in restored roof areas for damp insulation or staining on the underside of roof sheathing
- Monitor crawl spaces or basements for water accumulation – fire-damaged foundation vents may not seal properly
Post-rainy season inspection (April):
- Look for efflorescence on concrete or masonry – white powdery deposits indicate moisture migration
- Check painted surfaces for blistering or peeling that suggests moisture behind the finish
- Re-inspect all previously noted cracks or gaps – have they changed with moisture cycling?
This is also the period to assess whether any mold concerns have emerged. Fire restoration creates unusual moisture conditions – aggressive drying followed by re-occupancy with normal humidity loads. If you detect musty odors or see any surface growth, Mold Remediation in Los Angeles should be addressed promptly before it spreads beyond the original restoration zone.
How to Inspect Restored Drywall for Hidden Char
Hidden char behind restored drywall is one of the most serious latent defects in fire restoration, and one of the hardest for homeowners to detect. It creates ongoing odor problems, structural weakness, and in worst cases, re-ignition risk from pyrolysis – the chemical decomposition of wood at temperatures below ignition point, which lowers the material’s future ignition temperature.
Visual indicators at surface level:
Look for drywall discoloration that doesn’t match the surrounding surface. Charred substrate behind drywall can telegraph through as yellowing, brownish staining, or in advanced cases, a pattern of small bumps where the drywall face has delaminated from heat-affected core. These patterns often appear near electrical boxes, around plumbing penetrations, or at wall-ceiling intersections where heat concentrated.
Olfactory detection:
The smell test is more reliable than visual inspection for hidden char. Close the room for 24 hours with minimal ventilation, then enter and inhale deeply near walls in the restored area. Charred wood has a distinct smell – not the sharp acrid of fresh smoke, but a sweeter, more resinous odor like overheated sawdust or warm asphalt. If you detect this, there’s charred material somewhere in the assembly.
Physical probing (limited, non-destructive):
With a non-contact infrared thermometer, scan wall surfaces for temperature differential. Charred substrate has different thermal mass than clean wood – it may read slightly warmer or cooler depending on conditions. A difference of more than 3°F from surrounding surfaces warrants investigation.
Do not cut into walls yourself. If indicators suggest hidden char, call the restoration contractor. The IICRC standard for fire restoration requires removal of charred structural materials – if they’re still present, that’s a deficiency in the original scope that should be addressed under guarantee or insurance supplement.
Specific Los Angeles consideration:
Many Los Angeles homes built 1945-1970 used gypsum lath and plaster rather than drywall. Plaster over wood lath can conceal char more completely because the plaster itself is fire-resistant and won’t show surface damage even when the lath behind is significantly compromised. In these homes, tap the wall surface – plaster over damaged lath sounds hollower and produces a slightly higher pitch than intact assemblies.
Understanding Your One-Year Restoration Guarantee
The guarantee on fire restoration work is your financial protection against latent defects, but only if you understand what it covers, what it doesn’t, and how to properly invoke it. At Keegan Water Damage Restoration, every repair we complete is backed by the 365-Day Done Right Promise – a written, one-year guarantee that if our work fails, we return and make it right at no charge, with a free second visit if needed.
What a legitimate guarantee should cover:
- Workmanship defects: failed seams, loose fixtures, improper material installation
- Material failures when materials were specified and supplied by the contractor
- Re-emergence of conditions that the restoration work was contracted to eliminate: odor, visible char, soot staining
- Structural or finish failures traceable to the restoration work or the fire damage it addressed
Legitimate exclusions:
- New damage from unrelated causes: subsequent water intrusion from roof failure, new electrical overload, tenant damage
- Normal wear and maintenance: paint fading, caulk aging, filter changes
- Pre-existing conditions documented in the original scope as not addressed
- Damage from failure to maintain the property or follow post-restoration care instructions
Red flags in guarantee language:
- “Prorated” coverage that reduces over time – a one-year guarantee should be full-value for the full year
- Requirements that you use the same contractor for all related work to maintain guarantee validity
- Vague definitions of “defect” that let the contractor decide what’s covered
- Short claim windows – you shouldn’t have to report a problem within 30 days of discovering it
How to invoke your guarantee properly:
- Notify the contractor in writing – email or certified mail, not just phone – with specific description and photos of the defect
- Reference your original contract number and completion date
- State clearly that you’re invoking the guarantee, not just requesting service
- Set a reasonable response deadline – 10 business days for inspection, 30 days for repair scheduling
- Keep records of all communication
The Garrison Standard requires that we put the price in writing before any work starts, and the 365-Day Done Right Promise extends that accountability through the full first year. If a contractor won’t put guarantee terms in writing, that’s a signal to choose a different contractor.
Common Mistakes to Avoid
- Skipping the 30-day inspection because the final walkthrough “looked fine.” Final walkthrough confirms completion, not long-term performance. The 30-day inspection catches electrical and structural issues while they’re still minor.
- Using standard HVAC filter intervals immediately after restoration. Residual particulate loads filters faster for months after fire restoration. Monthly changes for 90 days aren’t excessive – they’re prudent.
- Ignoring “minor” cracks as normal settling. In Los Angeles, where seismic activity also stresses structures, homeowners often attribute fire-restoration cracks to earthquakes. Document them regardless – if they’re growing, they’re a problem.
- Attempting DIY electrical or structural probing. We mentioned the infrared thermometer scan as a non-contact tool. Don’t open walls, don’t remove electrical covers beyond standard homeowner access, and don’t climb into attics with compromised structural members. These are professional tasks for licensed contractors.
- Missing the guarantee claim window by delaying notification. Even generous guarantees have limits. When you find a defect, document it and notify the contractor within days, not months.
- Assuming insurance won’t cover latent damage discovery. Many homeowners’ policies include provisions for supplemental claims when hidden damage is found after initial settlement. Your restoration documentation supports this process – don’t discard it.
- Treating fire restoration as a one-time event rather than a year-long recovery process. The home needs your attention. The schedule in this guide takes perhaps two hours per month. That’s a minimal investment against the cost of undetected damage.
When to Call a Professional
Call a licensed electrician immediately if you smell hot plastic, see flickering lights, or feel warmth at outlets – these are potential fire ignition conditions, not maintenance items. For Fire Damage Restoration Troubleshooting: Common Problems and How to Fix Them, see our detailed guide. Call your restoration contractor if you find cracks that are growing, odors that are returning, or moisture that is new. Call a structural engineer if doors are binding progressively, floors are developing slope, or cracks follow a pattern that suggests foundation movement rather than settling.
Keegan Water Damage Restoration offers free estimates in Los Angeles – call (361) 317-7269. We’ll assess whether what you’re seeing is within normal post-restoration behavior or signals a defect that needs correction. Our technicians arrive in uniform, background-checked, and with the documentation tools to record findings in format that supports your insurance claim if supplemental coverage applies.
Frequently Asked Questions
Inspect at 30, 60, and 90 days after restoration completion, then at 6 months and 12 months, with additional checks after significant weather events. This schedule catches the three critical failure modes: electrical insulation degradation (30-90 days), HVAC particulate release (60-90 days), and structural settling with moisture intrusion (3-12 months). Call (361) 317-7269 if any inspection reveals concerns – estimates are free.
Most standard homeowners policies include provisions for supplemental claims when hidden damage is discovered after initial restoration, provided you document the finding and can relate it to the original loss. In Los Angeles, where construction costs have risen significantly, many policies also include ordinance or law coverage that may apply to code-required upgrades discovered during latent damage repair. Your restoration contractor’s documentation is essential evidence – request complete records if you don’t have them.
Smoke odor resurgence indicates that soot or charred material remains in the structure, or that new air pathways have opened that bypass previously sealed areas. Close the affected room for 24 hours, then enter and identify the strongest odor location – this helps pinpoint the source. Persistent odor after professional restoration is not normal and should be addressed under your guarantee. The 365-Day Done Right Promise covers re-emergence of conditions the restoration was contracted to eliminate.
Proper duct cleaning after fire restoration should leave supply registers free of visible residue, filters loading normally with household dust rather than black particulate, and no acrid smell when the system first cycles after filter change. In Los Angeles, where extended AC seasons mean heavy system use, inspect your filter at 30 days – it should not be black or gray. If it is, the duct cleaning was incomplete or the system is drawing from a contaminated return path.
Yes. Fire-damaged and restored structures can settle in ways that compromise sealed penetrations, creating new moisture entry points. When these admit water during Los Angeles’s rainy season, the resulting conditions can support mold growth in wall cavities before any interior signs appear. If your home has been through fire restoration and you detect musty odors, see surface discoloration, or have moisture meter readings above 16% in wood framing, mold assessment is warranted. Keegan Water Damage Restoration home services include mold remediation with the same documentation standards as our fire and water work.
The restoration guarantee covers defects in the contractor’s workmanship and materials for a defined period – typically one year. Your homeowner’s insurance covers sudden and accidental damage from perils named in your policy, regardless of when they occur. They operate independently: insurance doesn’t cover poor workmanship, and a contractor’s guarantee doesn’t cover new damage events. In practice, latent damage discovered after restoration may involve both – the guarantee covers correction of original work deficiencies, while insurance may cover consequential damage that resulted. Documentation and clear attribution are essential.
The Bottom Line
Fire damage restoration isn’t finished when the crew packs up. The first year after restoration is when latent defects reveal themselves – electrical, structural, and moisture problems that a single final walkthrough cannot predict. A disciplined inspection schedule at 30, 60, 90, and 180 days, with quarterly checks through month 12, gives you the best chance of catching these issues while they’re still minor and clearly tied to the restoration work.
Document everything. Know your guarantee terms. And don’t hesitate to call the contractor back when something isn’t right – that’s what the guarantee is for. Explore our more guides & resources for additional homeowner support. In Los Angeles, where construction complexity, climate, and aging housing stock compound fire damage risks, this structured approach isn’t overcaution. It’s the minimum prudent maintenance for a home that’s been through significant trauma.
Written by Shane Pruitt, Owner at Keegan Water Damage Restoration, serving Los Angeles since 2005.