
Last updated October 11, 2026
Free visual inspection and a written scope of work before any mitigation begins - photos, moisture readings, and drying logs go in your claim file
The scope we write is the scope we bill. Anything new gets shown to you, in writing, before we touch it.
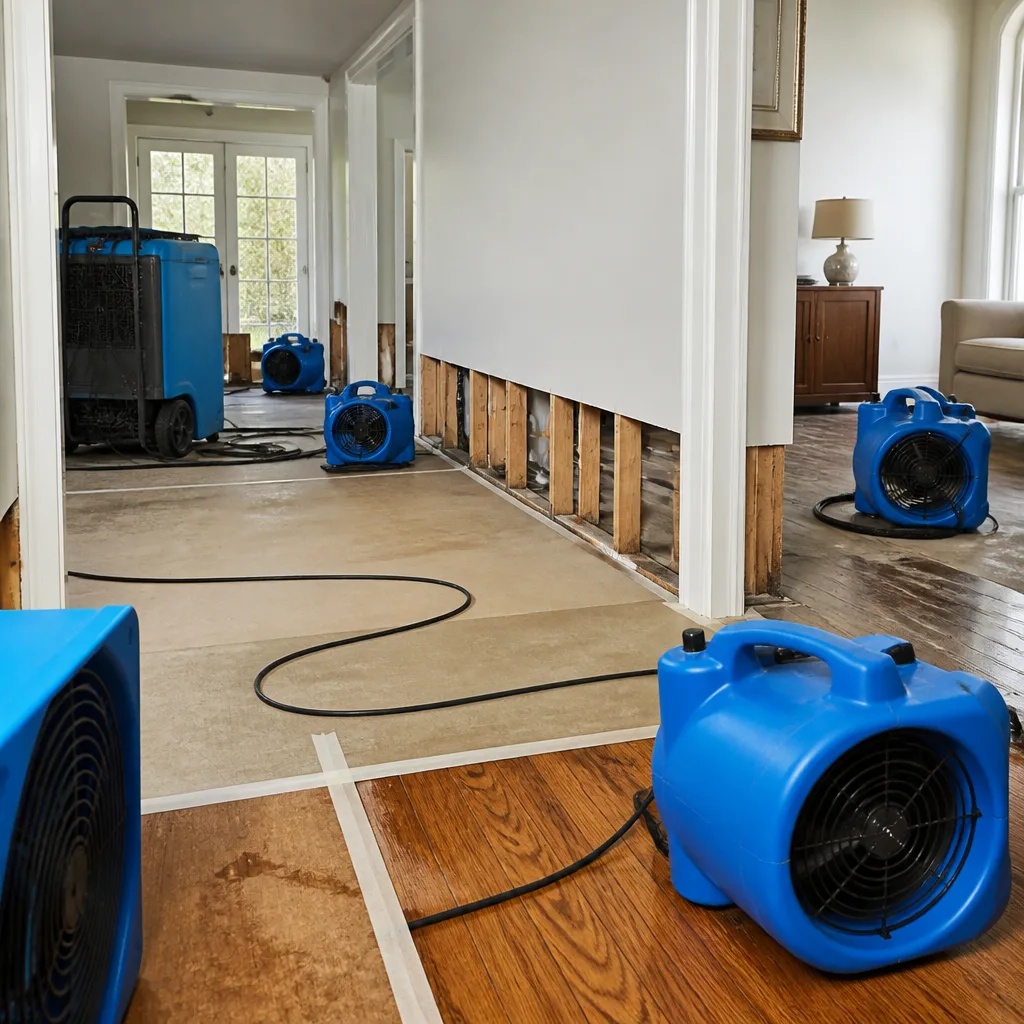
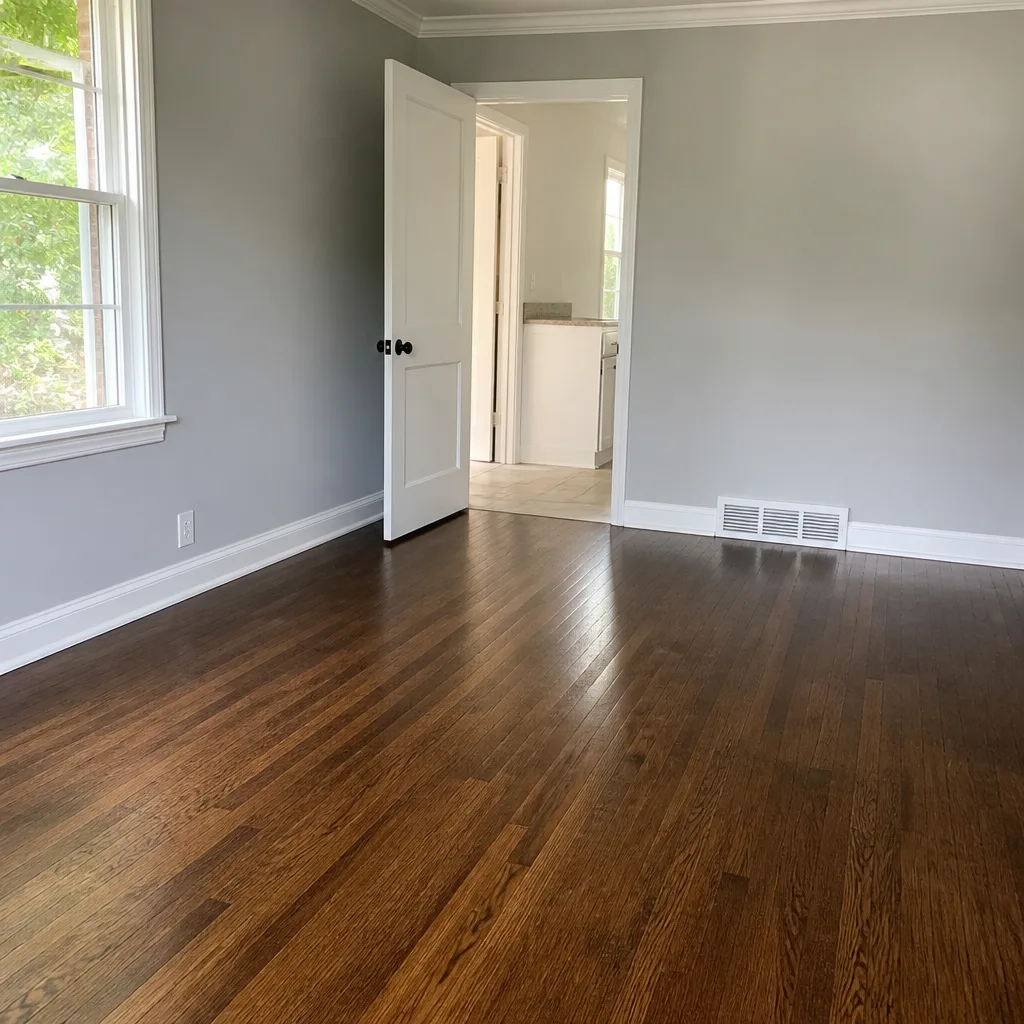
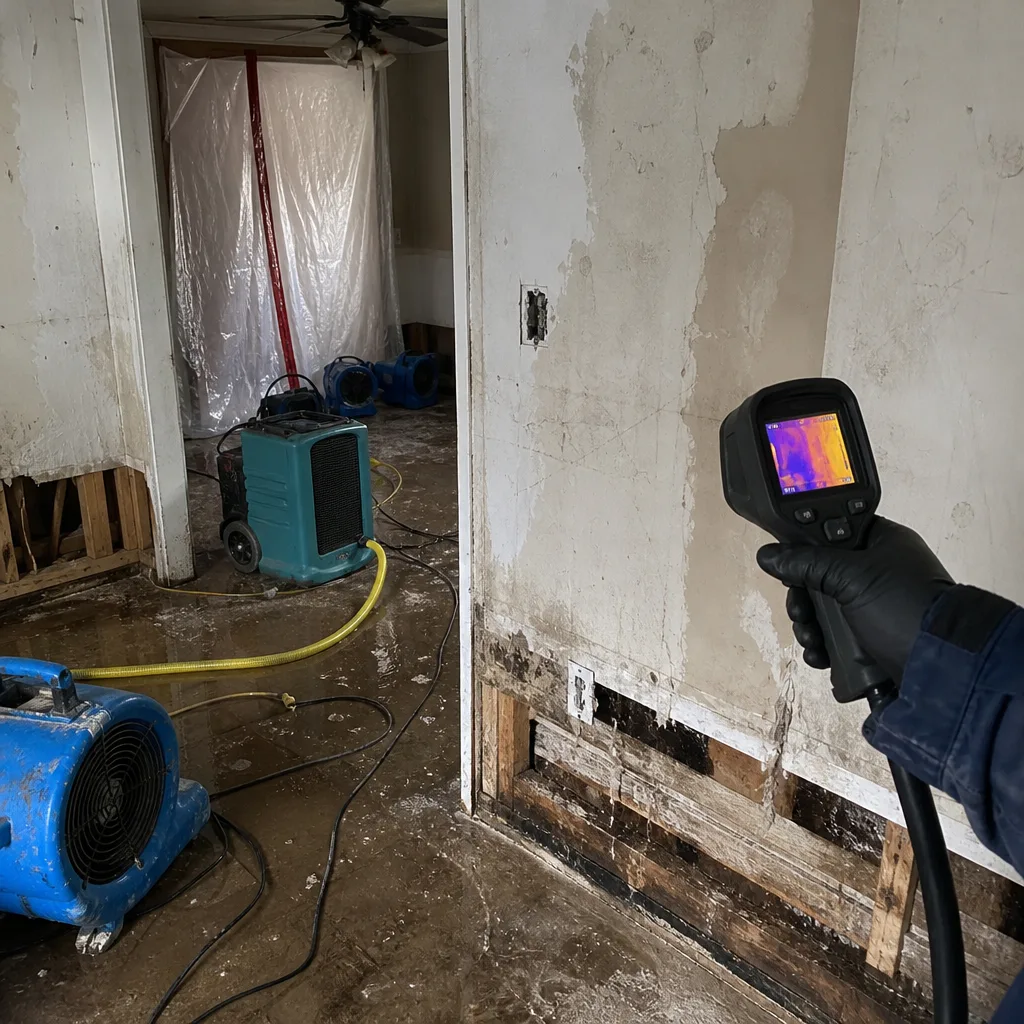 Before
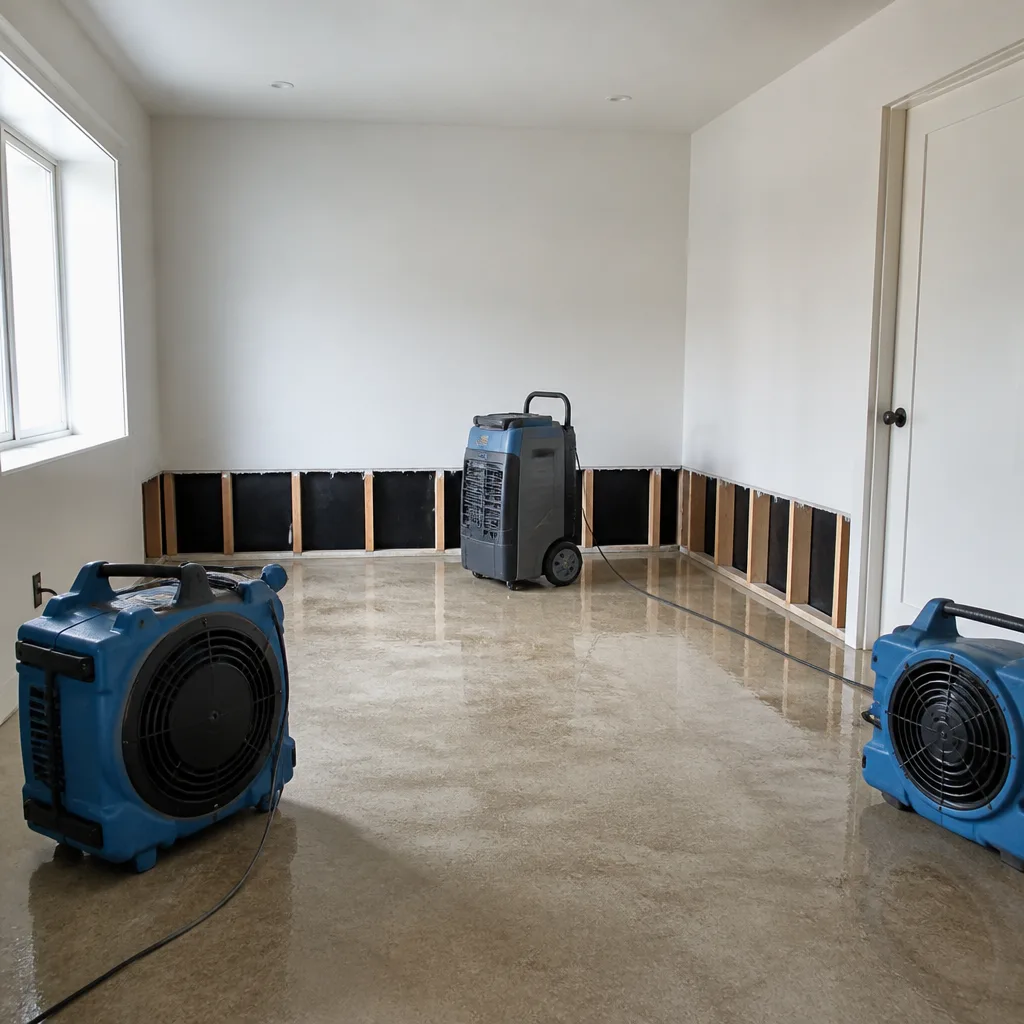 After
After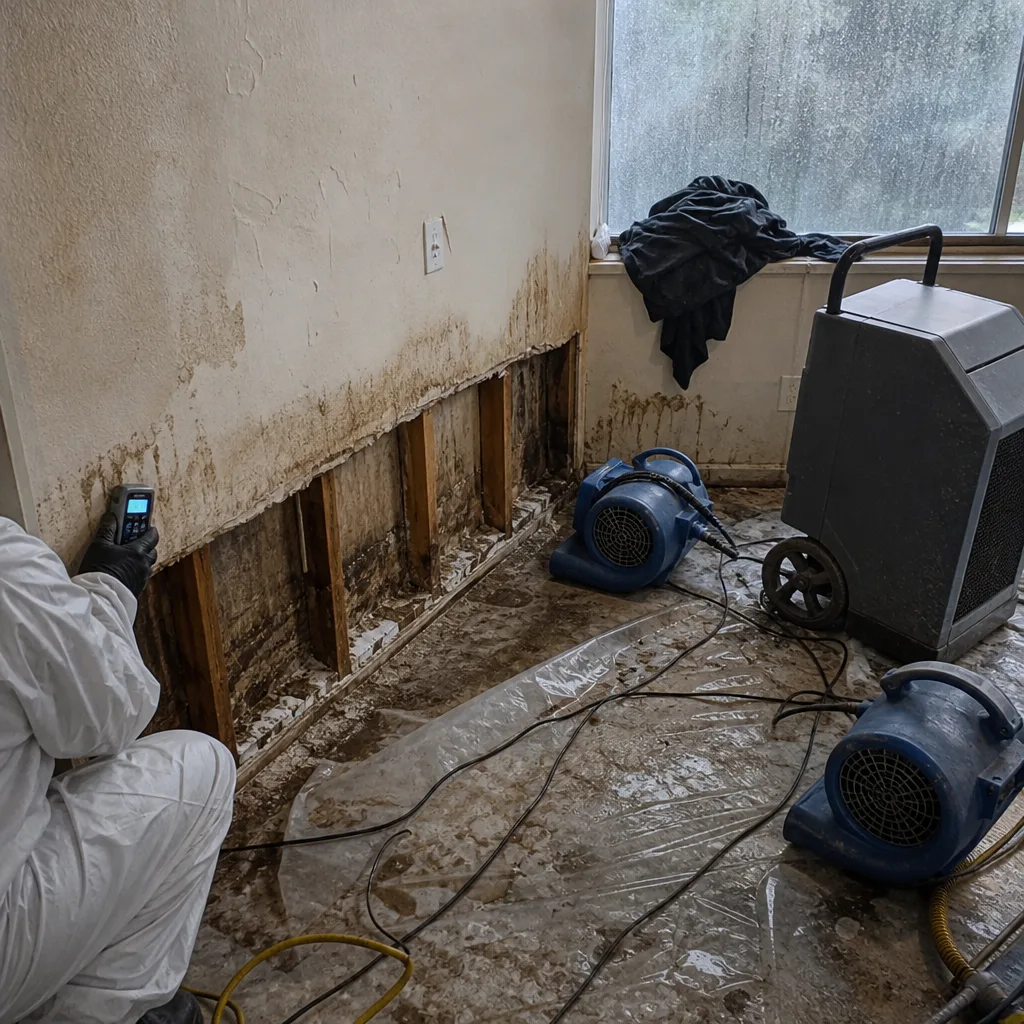 Before
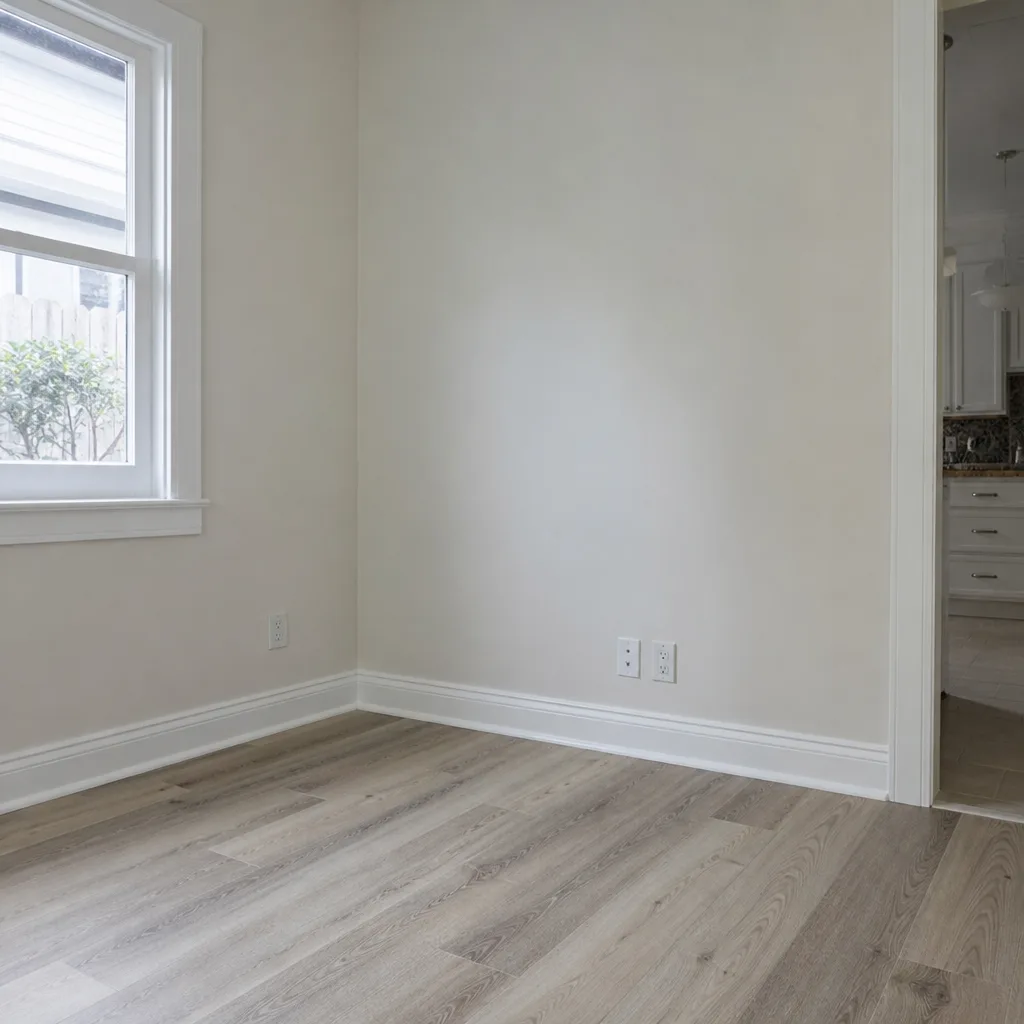 After
After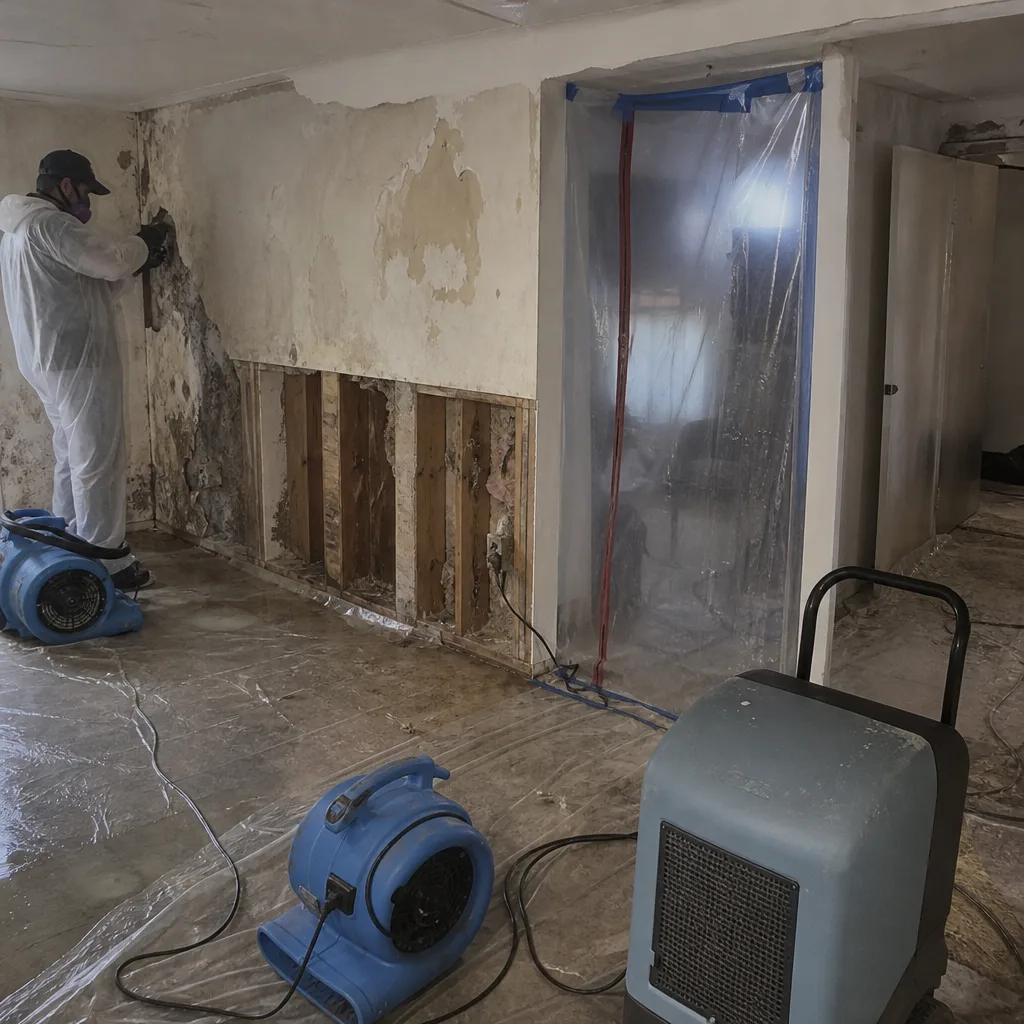 Before
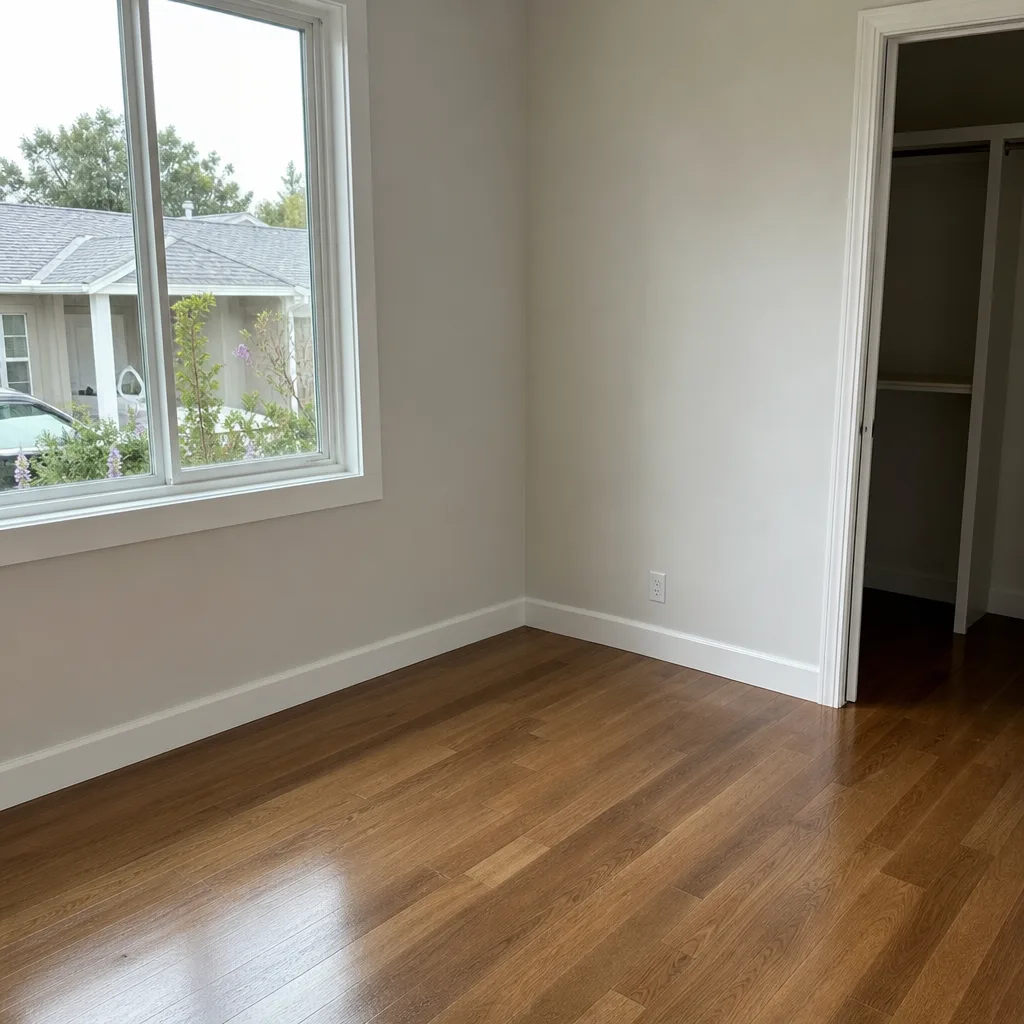 After
AfterWater Damage Restoration Maintenance Schedule: What to Do and When
The average Los Angeles homeowner files a second water damage claim within 30 months of the first, usually at a different entry point that was already showing early warning signs every homeowner should know during the original restoration visit. That second claim is almost always preventable. In this guide, we’ll walk you through a disciplined, month-by-month maintenance schedule built specifically for Los Angeles homes, with inspection sequences you can run yourself and clear documentation standards that protect your insurance position if water finds a way in again.
Quick Answer
A proper water damage restoration maintenance schedule means monthly visual checks of your roofline, gutters, and foundation perimeter; quarterly moisture-meter readings at five critical interior points; and professional-grade inspections before and after Los Angeles’s two highest-risk periods: atmospheric river season (December through March) and Santa Ana wind season (September through November). Most recurring claims stem from inspection gaps in the 90 days after the original restoration crew packs up.
Table of Contents
- Why Second Water Damage Claims Happen in Los Angeles
- Month-by-Month Los Angeles Maintenance Calendar
- The Five Inspection Points That Cause Most Recurring Claims
- How to Use a Consumer-Grade Moisture Meter for Quarterly Baselines
- The 45-Minute Roof-to-Foundation Inspection Sequence
- What to Document Photographically for Your Pre-Loss Record
- Common Mistakes to Avoid
- When to Call a Professional
- Frequently Asked Questions
- The Bottom Line
Why Second Water Damage Claims Happen in Los Angeles
We’ve been running water damage restoration jobs across Los Angeles since 2005, and the pattern is unmistakable. A crew extracts standing water, deploys Dri-Eaz and Phoenix drying equipment, and documents moisture levels until the structure reads dry per IICRC standards. The homeowner breathes easy. Sixteen months later, a slow leak behind the same bathroom wall, or a new breach at the opposite end of the house, triggers a second claim that costs more than the first because finishes and fixtures now need replacement too.
Three forces drive this pattern in Los Angeles specifically.
First, the Mediterranean climate creates false confidence. Our dry summers let small leaks evaporate before they pool, so homeowners never see the warning signs. By the time atmospheric rivers arrive in January, that slow seep has rotted sheathing or spawned mold inside the wall cavity.
Second, stucco exteriors hide movement. Los Angeles’s expansive clay soils, combined with thermal cycling between 55-degree winter mornings and 95-degree August afternoons, crack stucco at stress points. Water enters through hairline fractures that are invisible from the sidewalk but obvious to a trained eye at six feet with a raking light.
Third, restoration crews and homeowners both focus on the obvious damage. The saturated carpet, the buckled hardwood, the stained ceiling. The secondary entry points – the compromised flashing, the deteriorated sill seal, the AC condensate line that backs up every July – get noted in the scope of loss but rarely tracked afterward.
Our Keegan Water Damage Restoration home team sees this repeatedly on water damage restoration in Los Angeles follow-up visits. The 365-Day Done Right Promise covers our repair work, but it can’t prevent a new breach at an unaddressed location. That’s what this schedule is designed to catch.
Month-by-Month Los Angeles Maintenance Calendar
Generic four-season maintenance schedules fail in Southern California because our risk profile doesn’t match the calendar. Here’s what to do and when, tied to actual Los Angeles weather patterns and building behavior.
January – March: Atmospheric River Monitoring
Los Angeles receives 80% of its annual rainfall in these three months, often in concentrated atmospheric river events that drop 2 – 4 inches in 48 hours. This is not the season for prevention; it’s the season for active surveillance.
- Check gutters and downspouts weekly during active rain periods. Leaves from late-falling sycamores and liquidambers in Los Angeles neighborhoods like Pasadena and the Hollywood Hills clog systems fast.
- Inspect attic spaces within 24 hours of any storm exceeding one inch. Look for fresh water staining on rafters, not just dripping.
- Walk the perimeter after heavy rain, noting any soil erosion against the foundation that changes drainage patterns.
- Run your moisture meter at the five interior points (detailed below) and record readings.
April – June: Post-Rain Recovery and Repair Window
The dry season begins. This is your primary repair window before heat makes roofing work miserable and before contractors book up for summer.
- Schedule professional roof inspection if your home is over 15 years old or if January – March revealed any interior staining.
- Re-caulk windows and door perimeters. Latex caulk in Los Angeles’s UV exposure typically fails at 18 – 24 months.
- Test irrigation systems. Broken sprinkler heads against stucco are a leading cause of summer exterior moisture intrusion.
- Clean and inspect AC condensate drains before first use. Algae buildup from prior seasons causes July overflows.
July – August: Thermal Stress and Condensate Season
Los Angeles’s hottest months aren’t about rain. They’re about thermal expansion, condensate overload, and the surprise monsoon thunderstorms that catch dry soil unable to absorb sudden water.
- Inspect stucco for new cracking, especially on south and west exposures. Thermal expansion is maximum now.
- Verify AC condensate lines are flowing freely. A backed-up line can dump 20+ gallons daily into a ceiling cavity.
- Check attic ventilation. Poor airflow in July creates condensation on cooler ductwork that mimics a roof leak.
- Trim tree canopy away from rooflines before Santa Ana wind season. Dead branches become projectiles.
September – November: Santa Ana Wind Preparation
The Santa Ana winds drive wildfire risk, but for water damage, their real threat is sudden, violent debris impact and the pressure differentials that exploit existing envelope weaknesses. This is your pre-winter hardening period.
- Complete roof repairs identified in spring. Do not enter atmospheric river season with compromised flashing.
- Secure or replace loose fascia and soffit materials. Santa Ana gusts at 60+ mph tear these off, exposing rafter tails.
- Re-inspect and clear all drainage paths: gutters, yard drains, window wells.
- Run final pre-winter moisture meter baselines. Compare to April readings. Any upward trend demands investigation.
December: Pre-Storm Verification
One focused weekend before the holidays.
- Test sump pumps if your Los Angeles home has a basement or sub-grade level. Many older homes in Silver Lake and Echo Park have these.
- Verify your photo documentation folder is current and cloud-backed.
- Confirm you have a restoration company’s number saved where every adult in the household can find it. A live person answers our line 24 hours a day, 7 days a week, including holidays.
The Five Inspection Points That Cause Most Recurring Claims
After thousands of water damage restoration in Los Angeles jobs, we’ve identified five locations on a typical Los Angeles stucco home that generate the majority of repeat claims. These aren’t the obvious ones. They’re the ones that pass casual notice until they don’t.
- Stucco-to-foundation interface. The weep screed at the base of stucco walls is designed to drain moisture, but in Los Angeles’s clay soils, ground-level landscaping and hardscape often bury it. Water wicks upward into the framing sill. Check quarterly that 2 inches of weep screed remain exposed.
- Second-story window sill pans. Los Angeles’s stucco installation practices from the 1980s through early 2000s frequently omitted proper sill pan flashing. Water enters at the joint between window frame and stucco, then travels horizontally along the top plate. Look for staining or efflorescence on interior drywall below upstairs windows.
- Tile roof hip and ridge gaps. Clay and concrete tile roofs dominate Los Angeles architecture. The mortar at hips and ridges cracks in thermal cycling; Santa Ana winds lift tiles at these weak points. From the ground, use binoculars. From a ladder (with proper fall protection), probe gently. Do not walk tile roofs.
- AC condensate termination. In Los Angeles, condensate lines often terminate at exterior stucco or into buried drain lines that fail. The line backs up, and the emergency overflow pan’s rusted drain fitting fails simultaneously. Check the termination point monthly in summer.
- Garage-to-living-space firewall penetrations. Los Angeles code requires fire-rated drywall between garage and living space, but plumbing and electrical penetrations are often poorly sealed. Vehicle wash water, water heater leaks, or overhead door track lubricant drips find these gaps. Inspect the shared wall’s baseplate seasonally.
These five points take 15 minutes to check once you know what you’re looking for. The moisture meter readings at these locations, taken quarterly, build a trend line that reveals problems before they become claims.
How to Use a Consumer-Grade Moisture Meter for Quarterly Baselines
You don’t need professional equipment to catch early warning signs. A pin-type moisture meter costing $30 – $60 at any hardware store gives you actionable data if you use it with discipline.
What to Buy
Look for a pin-type meter, not a pinless surface scanner. Pinless meters read density variations that stucco and tile can misrepresent. Pin meters measure electrical resistance between two probes, which correlates directly to moisture content in wood and gypsum. Brands like General Tools or Protimeter make adequate units. Don’t overthink it.
The Five Reading Locations
Take readings at the same five spots every quarter. Write them down. Date every entry.
- Base of the garage-to-living-space wall, at the baseplate, 2 inches above the slab.
- Interior drywall below each second-story window sill, at the bottom plate.
- Attic sheathing at the lowest point, near the eave, where ice damming would occur (rare in Los Angeles, but this is where roof leaks first appear).
- Cabinet base under the kitchen sink, at the toe-kick framing.
- Laundry room wall behind the washing machine, at the valve box height.
How to Read the Numbers
Wood moisture content below 12% is dry in Los Angeles’s climate. Readings of 15 – 20% indicate active moisture that demands investigation. Above 20% means water is present now; find the source or call a professional.
Gypsum drywall reads differently. Below 0.5% on most meters is normal. Above 1% suggests recent water contact. The absolute number matters less than the trend: a reading that climbs from 0.3% to 0.8% over two quarters is telling you something, even if both numbers seem “low.”
Record your readings in a simple spreadsheet or even a dated note on your phone. Photo-document each reading location so you probe the same spot each time. After 12 months, you’ll have a baseline that makes anomaly detection automatic.
The 45-Minute Roof-to-Foundation Inspection Sequence
This sequence is designed for efficiency. Run it twice yearly: once in April after the rains end, once in October before they return. It requires binoculars, a flashlight, your moisture meter, and a notepad. No ladder work beyond gutter level, and no roof walking.
Phase 1: Roof and Upper Envelope (15 minutes)
- From the street or driveway, binocular-scan the roof field. Note cracked, slipped, or missing tiles; damaged shingle tabs; or debris accumulation in valleys.
- Focus on hips, ridges, and penetrations (vents, chimneys, skylights). Look for gaps in mortar, lifted flashing, or rusted metal.
- Check fascia and soffit lines for water staining, peeling paint, or wasp nests that indicate chronic moisture.
- From inside the attic, inspect sheathing with your flashlight at the eaves, ridges, and around penetrations. Look for darkening, staining, or fungal growth.
Phase 2: Wall and Window Systems (15 minutes)
- Walk the perimeter slowly, raking light across stucco surfaces morning or evening. Hairline cracks show as shadows. Note location and approximate length.
- Test window and door operation. Stiff operation often means frame swelling from moisture.
- Inspect caulking at all penetrations. Failed caulk pulls away from one side; it doesn’t just crack down the middle.
- Verify weep screed exposure at foundation. Measure if uncertain; 2 inches minimum.
Phase 3: Foundation, Grade, and Interior (15 minutes)
- Walk the perimeter again, now focused on grade slope. Soil should fall away from the foundation at 6 inches minimum in the first 10 feet. Los Angeles’s clay soils settle and reverse this slope over time.
- Test hose bibs and irrigation valves for seepage at the foundation.
- Run your moisture meter at the five baseline locations. Record readings.
- Check under-sink cabinets, behind toilets, and at water heater pans for active drips, corrosion, or prior staining.
Total time: 45 minutes. The discipline is in doing it consistently, not in doing it perfectly. A mediocre inspection done every April and October beats a thorough one done once.
What to Document Photographically for Your Pre-Loss Record
Insurance adjusters work from documentation. The homeowner who can produce dated, geotagged photos of pre-loss condition gets faster claim resolution and better coverage determinations. After every inspection, document these categories.
Required Photo Categories
- Roof field and penetrations: Wide shot establishing roof condition, then close-ups of any anomalies. Date-stamp everything.
- Stucco condition: Raking-light photos showing crack patterns. Include a reference object (ruler, coin) for scale.
- Grade and drainage: Photos showing soil slope at foundation, downspout terminations, and any pooling evidence.
- Moisture meter readings: Photo of the meter display at each of the five locations, with the location visible in frame.
- Interior vulnerability points: Under-sink areas, water heater installation, washing machine valve box, HVAC condensate handling.
Storage and Organization
Create a cloud folder structure: Property Address / Year / Inspection Date. Upload within 48 hours of inspection. Set a calendar reminder to verify access annually. If you ever need to file a claim, this folder becomes evidence of maintenance diligence, which supports coverage under most policies’ “sudden and accidental” provisions versus their exclusions for “long-term seepage.”
At Keegan Water Damage Restoration, we photo-document every job to IICRC and RIA standards, formatted to support your insurance claim. Your own maintenance documentation complements ours. Together, they tell a complete story.
Common Mistakes to Avoid
- Waiting for visible water before acting. By the time you see staining, the damage behind it is typically 3 – 6 weeks old. Los Angeles’s dry climate evaporates surface evidence while concealing cavity saturation.
- Using the wrong inspector for the job. A general home inspector checks boxes; they don’t trend moisture readings or understand psychrometrics. For post-restoration verification, use an IICRC-certified technician or follow this schedule yourself with discipline.
- Ignoring the “small” Santa Ana wind event. Winds at 35 mph don’t feel dramatic, but they lift tile edges, drive debris into stucco, and create pressure differentials that test every envelope seal. Inspect after every event, not just the memorable ones.
- Planting against the foundation. Los Angeles homeowners love foundation planting for curb appeal. But irrigation against stucco, root intrusion at weep screed, and soil buildup that buries the foundation line are direct causes of moisture entry. Maintain 18-inch clearance minimum.
- Assuming new construction is immune. The most severe water damage we’ve handled in Los Angeles involved homes built 2015 – 2020 with improperly flashed balconies and missing sill pan membranes. Age is not the variable; installation quality is.
- Failing to re-inspect after any restoration work. The 30-month second-claim statistic exists because homeowners treat restoration as an endpoint. It’s a midpoint. The maintenance schedule begins when the Injectidry hoses come out, not when they’re packed away.
When to Call a Professional
Some conditions demand trained assessment, not homeowner vigilance. Call a certified water damage restoration company for common problems when: moisture meter readings climb 50% or more between quarters; you find fungal growth of any color in attic or wall cavity; a second-story leak has saturated ceiling drywall (structural load and electrical hazard); or your inspection reveals compromised roof flashing that you cannot safely access.
At Keegan Water Damage Restoration, we offer free estimates in Los Angeles. A trained technician arrives in uniform, documents the condition photographically, and delivers a written scope and price before any work begins. That’s The Garrison Standard. Call (361) 317-7269 when your inspection turns up something you can’t explain or safely address.
For fire damage restoration in Los Angeles or mold remediation in Los Angeles, the same discipline applies: inspection, documentation, written scope, then work.
Frequently Asked Questions
Run the full 45-minute roof-to-foundation sequence twice yearly, in April and October, with monthly visual checks of gutters, downspouts, and visible stucco during Los Angeles’s rainy season. Quarterly moisture meter readings at the five baseline points complete the cycle. Call (361) 317-7269 if any reading trends upward.
Most standard homeowners policies cover sudden and accidental water damage regardless of prior claims, but they exclude long-term seepage that could have been prevented through maintenance. Your inspection documentation proves diligence, which supports coverage. We format every Keegan job report to align with adjuster requirements and can coordinate directly with your insurance representative.
Secondary claims in Los Angeles typically run 40 – 60% higher than the original because finishes, cabinetry, and flooring that survived the first event must now be removed and replaced. A $30 moisture meter and 90 minutes of annual inspection time prevents claims that commonly reach $15,000 – $50,000 in our market.
Proper restoration leaves a complete paper trail: initial moisture readings, daily drying logs with equipment placement maps, final moisture verification at or below IICRC standards, and photographic documentation of all affected areas. If your prior contractor provided none of this, consider a post-restoration audit. Keegan’s 365-Day Done Right Promise covers our own work with a free return visit if anything fails within the guarantee period.
Los Angeles homes face specific risks: clay soil expansion and contraction that cracks slabs and stucco; intense UV degradation of sealants and roofing; rare but violent rainfall that overwhelms poorly maintained drainage; and the false security of a dry climate that lets small leaks hide for months. The maintenance schedule in this guide addresses each of these factors directly.
A disciplined homeowner can handle 80% of this schedule with basic tools and calendar reminders. The remaining 20% – roof work beyond gutter level, attic mold assessment, sub-slab moisture investigation – requires professional equipment and safety training. We recommend self-maintenance for monitoring and prevention, with professional involvement for any condition that changes between inspections.
The Bottom Line
Water damage restoration is not a single event. It’s a cycle of response, repair, and prevention that repeats until the building envelope is truly secure. The Los Angeles homeowner who treats the 30 months after restoration as an active maintenance period, running this month-by-month schedule with discipline, breaks the second-claim pattern that costs our neighbors thousands in deductible, premium increases, and preventable destruction. Document everything. Trend your moisture readings. Inspect before and after every seasonal risk window. And when your inspection reveals something you can’t handle alone, call a crew that shows up inside the window, puts the price in writing, and stands behind the work for a full year.
Written by Shane Pruitt, Owner at Keegan Water Damage Restoration, serving Los Angeles since 2005.